Living Willow from Willows Nursery
How to make a living willow wigwam(More detailed instructions are sent with the kits)
We have the following living willow wigwam kits for sale
Standard Wigwam WK100
Small Wigwam WK101
Please visit our Living Willow Kit Prices page for full details and see our FAQ’s page for further information and advice.
A living willow wigwam/teepee is one of the simplest structures to make : –
Decide how wide you want the base of the wigwam to be and ‘draw’ a circle on the ground. Calculate how many
of the longest whips you need – work on one every 18 inches (45 cm) or so ( leaving an opening for the entrance) and then
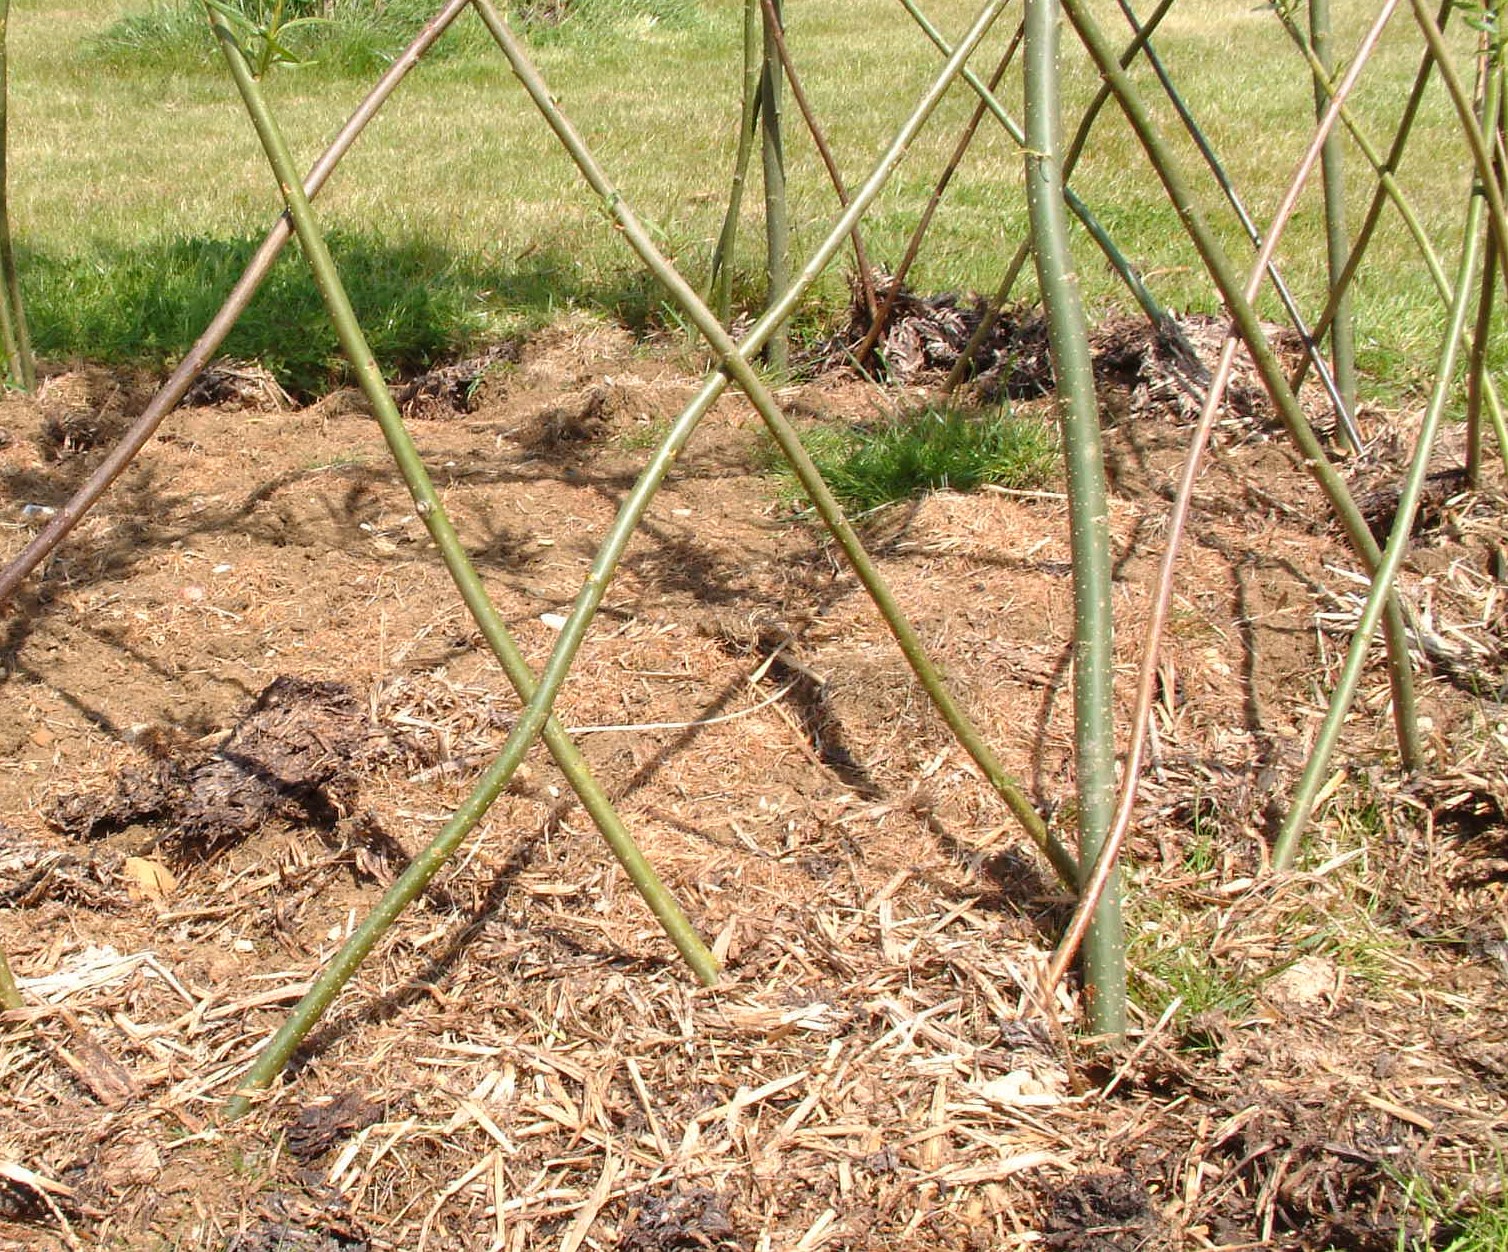
push them into the ground (about 6 to 9 inches/15 to 23 cm is sufficient for them to root – go deeper if you wish).
Tie them together towards the top.

Ideally weave the diagonal whips ‘in front of one vertical and behind the next’ as this makes the structure more rigid – although tying the whips together may help while you are working, especially towards the tips.
Where the diagonals go across the entrance simply bend them around the vertical whip a weave them back into the criss-cross pattern.



The new growth can be woven into the structure, cut off as it grows, or left for a shaggier wilder appearance, if you prefer, and not trimmed until winter.

You can work out your own design of wigwam and order the number of whips you
need or you can buy one of our wigwam kits which follow the above approach.
The photographs below show our Living Willow Small Wigwam and
Standard Wigwam Kits – just after planting and then in early June with new growth.
We have the following living willow wigwam kits for sale
Standard Wigwam WK100
Small Wigwam WK101
Please visit our Living Willow Kit Prices page for full details and see our FAQ’s page for further information and advice.

